Build a Simple Soil Moisture Monitoring System Using Arduino
2026-04-10 | By Rachana Jain
License: Apache License, Version 2.0 Arduino
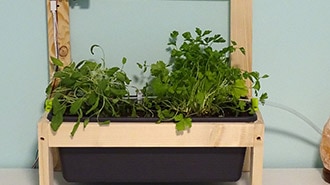
Keeping plants healthy isn’t just about watering regularly—it’s about watering correctly. Overwatering or underwatering can both harm plant growth, especially in home gardens and small agricultural setups.
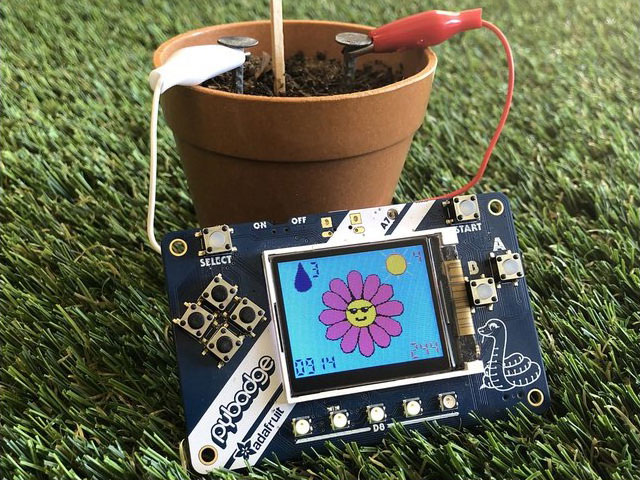
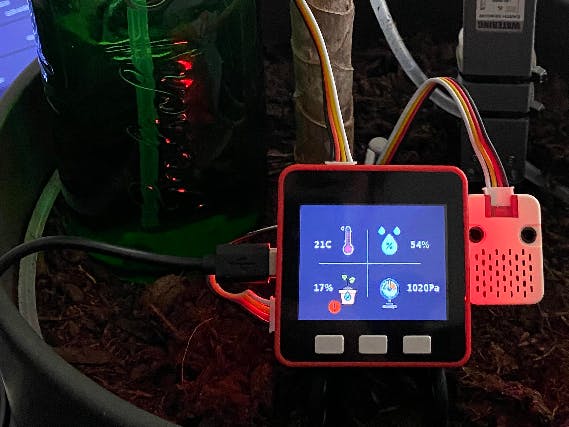
In this project, we’ll create a soil moisture monitoring system using an Arduino Uno and a resistive soil moisture sensor. The system reads soil conditions in real time and helps you understand when your plants actually need water.
This setup is perfect for beginners exploring sensors, as well as hobbyists looking to build automation systems like smart irrigation or plant monitoring dashboards.
Components Required
Soil Moisture Sensor Overview and Pinout
The FC-28 is a commonly used resistive soil moisture sensor that detects water content by measuring conductivity in the soil. When moisture increases, conductivity improves, and resistance drops—this change is converted into an electrical signal.
The module includes a comparator circuit built using the LM393, allowing both analog and digital outputs.
Key Pins Explained:
VCC – Connect to 3.3V or 5V supply
GND – Common ground
AO – Analog output for continuous readings
DO – Digital output for threshold-based detection
This dual-mode capability gives you flexibility depending on your project complexity.
Project Overview / Working Principle
At the heart of this project is a simple concept: soil behaves differently based on water content.
When the probe is inserted into the soil:
Moist soil allows more current flow (low resistance)
Dry soil restricts current flow (high resistance)
The sensor module converts this variation into a voltage output. The Arduino reads this signal and interprets it as a moisture level.
In analog mode, you get a range of values that can be mapped to percentages
In digital mode, you simply detect whether the soil is dry or sufficiently wet
This makes it easy to scale from basic monitoring to fully automated irrigation systems.
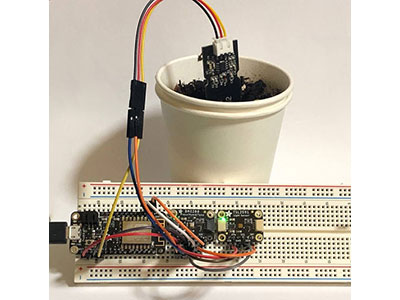
Hardware Setup and Connections
Begin by powering the sensor module. Connect its VCC pin to the 5V output of the Arduino and GND to ground.
For reading detailed moisture values, connect the analog output (AO) of the sensor to the A0 pin on the Arduino. This enables continuous monitoring of soil conditions.
If you prefer a simpler approach, use the digital output (DO). Connect it to any digital pin on the Arduino. You can then adjust the onboard potentiometer to define the moisture threshold at which the signal toggles.
Next, interface the LCD display using the I2C protocol. Connect SDA and SCL lines to the respective I2C pins on the Arduino. This display can be used to show live moisture readings or status messages, making the system more interactive.
Ensure proper grounding across all components and double-check wiring before powering the circuit.