Mfr Part # 2176
KITRONIK USB LED STRIP KIT WITH
Kitronik Ltd.
License: See Original Project LEDs / Discrete / Modules Solder Badge / Kit
Guide by Kitronik Maker
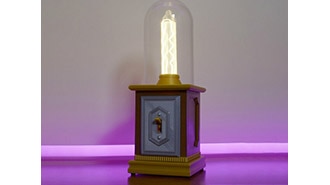
This handy little desk lamp has been designed and created in the classroom by year 8 student Neve Spurr from Carlton-Le-Willows School, Nottingham.
Using our USB LED Strip Kit, some value acrylic and a few bits of wood, she has developed a desk lamp that can tick off a number of requirements from the UK curriculum.
Green Value Acrylic 3mm x 600mmx400mm
Red Value Acrylic 3mm x 600mmx400mm
Pan Head Screws
Small Nut
Spacer
Wood
And some wood glue
Solder the USB LED Strip Kit together. The kit build instructions can be found here.
Download the DXF file or create your very design. Cut both pieces of acrylic as per the DXF file or your own design.
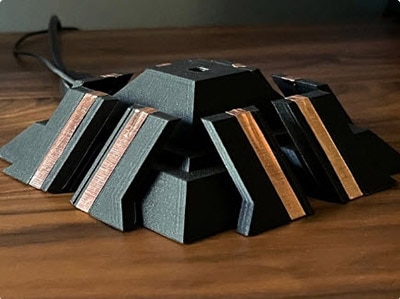
Line bend the acrylic to create the downward angle of the light source.
Glue the pieces of acrylic to the wood and once dry screw the 2 pieces together.
Screw the USB LED Strip to the wood, using the spacer to make sure the USB connection is accessible through the hole in the acrylic. Secure the screw using the small nut to keep the light in place.
Voila! Your very own desk lamp.
©Kitronik Ltd – You may print this page & link to it but must not copy the page or part thereof without Kitronik's prior written consent.